How to Create Blog Banners in Canva: Header and Open Graph Sizes
A strong blog banner sets the tone before anyone reads a word. Canva makes it easy to design 1600×800 post headers and 1200×630 Open Graph images for link previews - with bold titles, clean layouts, and export-ready files.
This guide walks through Canva blog banner canvas setup, layout, typography, and export for both on-page covers and social sharing.
Blog banner and Open Graph sizes in Canva
Blog graphics serve two jobs - a hero image on the page and a link preview when the URL is shared on social media. They use different dimensions:
| Use | Size | Aspect ratio | Where it appears |
|---|---|---|---|
| Blog post header | 1600 × 800 px | 2:1 | Top of article (e.g. Sparxno PostBanner) |
| Widescreen header | 1600 × 900 px | 16:9 | Blog/CMS hero images |
| Open Graph / social | 1200 × 630 px | 1.91:1 | Facebook, LinkedIn, Slack, iMessage |
| Twitter / X large card | 1200 × 675 px | 16:9 | X link previews (optional) |
For social link previews, 1200 × 630 px is the universal safe default - it renders correctly on Facebook, LinkedIn, Slack, Discord, and WhatsApp. For on-page blog covers, 1600 × 800 px (2:1) matches widescreen article layouts like Sparxno post banners.
Keep important text and logos in the center 66% of Open Graph images - platforms crop edges differently. Leave roughly 50 px margins on blog headers.
To create the canvas:
- Open Canva.
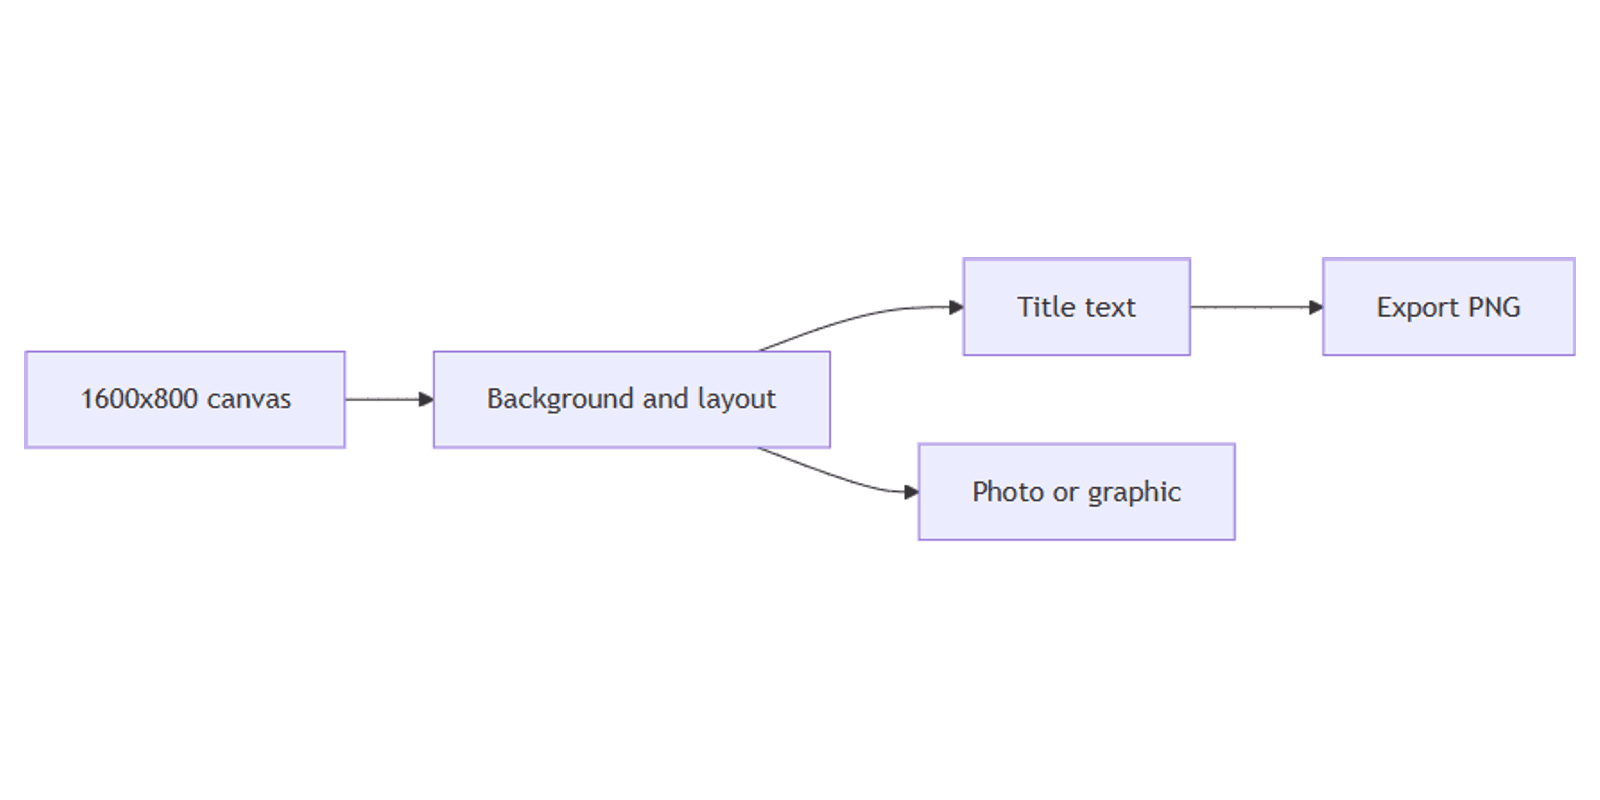
- For a blog header: Create a design → Custom size → 1600 × 800 px.
- For Open Graph: Custom size → 1200 × 630 px.
- Or search Blog Banner / Facebook Post templates and verify the dimensions.
For other formats:
| Use | Size |
|---|---|
| Blog post header (2:1) | 1600 × 800 px |
| Blog hero (16:9) | 1600 × 900 px |
| Open Graph image | 1200 × 630 px |
| YouTube thumbnail | 1280 × 720 px |
| Pinterest pin | 1000 × 1500 px |
| Instagram portrait | 1080 × 1350 px |
See our YouTube thumbnails, Pinterest pins, and Instagram posts guides for social sizes.
Step-by-step: build a blog banner
1. Set the background
Pick one approach:
- Solid or gradient - click the background → choose a color or gradient from the toolbar.
- Photo - Elements → Photos → search your topic; drag an image to fill the canvas.
- Split layout - title on the left, image on the right; see our equal-width sections guide for gap-free columns.
Apply a semi-transparent overlay over busy photos so title text stays readable.
2. Add a focal image
- Elements → search icons, illustrations, or cutouts related to your article topic.
- Use Effects → Background Remover (Canva Pro) to isolate a subject.
- Place visuals on the right third for title-left layouts, or center for minimal designs.
Preview how your banner looks in the FREE Frame Mockups Bundle on a laptop or phone before publishing.
3. Add title text
- Click Text → Add a heading.
- Type the article title or a shortened version - 4 to 8 words.
- Set a bold font (e.g. League Spartan, Montserrat, or Inter).
- Size text to fill roughly one third of the banner height.
Typography tips:
- Match the article title - readers should recognize the banner when they land on the page.
- High contrast - white text on dark backgrounds, or dark text on light blocks.
- Outline or shadow - select text → Effects → Shadow for legibility on photos.
- Limit fonts - one font family, two weights maximum.
- OG thumbnail test - for 1200×630 images, zoom to 25% - if the title is readable, it works in a Slack or Twitter preview.
4. Add supporting elements (optional)
- A category tag or series label in a corner (e.g. "Notion", "Canva").
- Site logo in a corner - keep it inside the safe zone for OG images.
- Shapes behind text - rounded rectangle at 80% opacity creates a readable text box.
- Brand colors - open Brand Kit (Canva Pro) to reuse your palette across posts.
5. Align and balance
- Select multiple elements → Position → Tidy up or use alignment guides.
- Keep a safe margin (~50 px) from all edges.
- For OG images, center the headline - edges may be cropped on some platforms.
- Zoom out to 25–33% - if the title is still readable, the banner works at preview size.
Banner layout patterns
Three layouts that work consistently:
| Pattern | Structure | Best for |
|---|---|---|
| Title left | Text block left, image or graphic right | Tutorial and how-to posts |
| Centered | Headline centered on solid or gradient background | Announcements, quotes |
| Image overlay | Full-bleed photo with text bar at bottom | Lifestyle, travel, case studies |
For a blog series, save your first design as a Brand Template (Canva Pro) so every post starts with the same fonts, colors, and logo placement.
Blog header vs Open Graph image
You can use one design for both, but dedicated sizes look better:
| 1600 × 800 header | 1200 × 630 OG image | |
|---|---|---|
| Purpose | Hero image at top of article | Link preview when URL is shared |
| Text | Full article title | Shortened title or hook |
| Layout | Wider - room for subtitle | Compact - one headline only |
Workflow:
- Design the 1600 × 800 blog header first.
- Duplicate the design → Resize (Canva Pro) to 1200 × 630, or create a new canvas.
- Shorten the title and tighten margins for the smaller OG frame.
- Export both files separately.
Export settings
- Click Share → Download.
- Choose a format:
- PNG - best for text-heavy banners and flat graphics.
- JPG (85–90% quality) - smaller files for photo-heavy designs.
- Use Standard download.
File size targets:
| Use | Max size | Practical target |
|---|---|---|
| Blog header on page | 500 KB–2 MB | Under 500 KB |
| Open Graph image | 8 MB (platform limit) | Under 300 KB for WhatsApp |
If your PNG exceeds the target, export as JPG or simplify gradients before uploading.
Upload the 1600 × 800 image as your post cover in your CMS. Set the 1200 × 630 image as og:image in your site's meta tags for social previews.
Size reference for other platforms
Reuse the same Canva skills across formats:
| Platform | Size |
|---|---|
| Blog header (2:1) | 1600 × 800 px |
| Blog hero (16:9) | 1600 × 900 px |
| Open Graph | 1200 × 630 px |
| YouTube thumbnail | 1280 × 720 px |
| Pinterest pin | 1000 × 1500 px |
| Instagram portrait | 1080 × 1350 px |
Use Magic Resize (Canva Pro) to adapt a blog header to OG or social sizes after the main design is done.
Design checklist
Before you publish, confirm:
- Blog header is 1600 × 800 px (or 1600 × 900 px for 16:9)
- OG image is 1200 × 630 px (if using a separate social preview)
- Title is readable at small size (zoom to 25%)
- Text and logo sit inside the center safe zone
- Strong contrast between text and background
- Exported as PNG or JPG
- OG file is under 1 MB (aim for under 300 KB)
Common mistakes to avoid
- Using 1600×800 for Open Graph - social previews expect 1200×630; wide headers get cropped.
- Text at the edges - Slack, iMessage, and X crop differently; keep headlines centered.
- Too much text on OG images - one headline is enough for link previews.
- Low contrast - pastel text disappears in compressed social thumbnails.
- Skipping the OG image - without
og:image, shares show a generic placeholder.
FAQ
What is the blog banner size in Canva?
1600 × 800 pixels (2:1) for widescreen article headers. Use Custom size in Canva and enter 1600 × 800. For 16:9 heroes, use 1600 × 900 px.
What size should an Open Graph image be?
1200 × 630 pixels (1.91:1 aspect ratio). This is the universal safe default for Facebook, LinkedIn, Slack, Discord, and most link previews.
Can one image work for both blog header and Open Graph?
You can reuse elements, but dedicated sizes work better. Design at 1600 × 800 for the article hero and export a separate 1200 × 630 version with a tighter, centered layout for social shares.
Conclusion
Canva is a fast way to create blog banners - design a 1600×800 header for your article, a 1200×630 Open Graph image for social previews, and export PNG or JPG. Save your layout as a template and batch covers for a consistent blog brand.
For social graphics, see YouTube thumbnails, Pinterest pins, Instagram posts, and LinkedIn posts. For narrow newsletter art, see email headers. For gap-free column layouts, see equal-width sections.
Canva Templates
Start Selling Canva Templates - Start Now!