How to Create Twitch Overlays in Canva: Stream Layouts
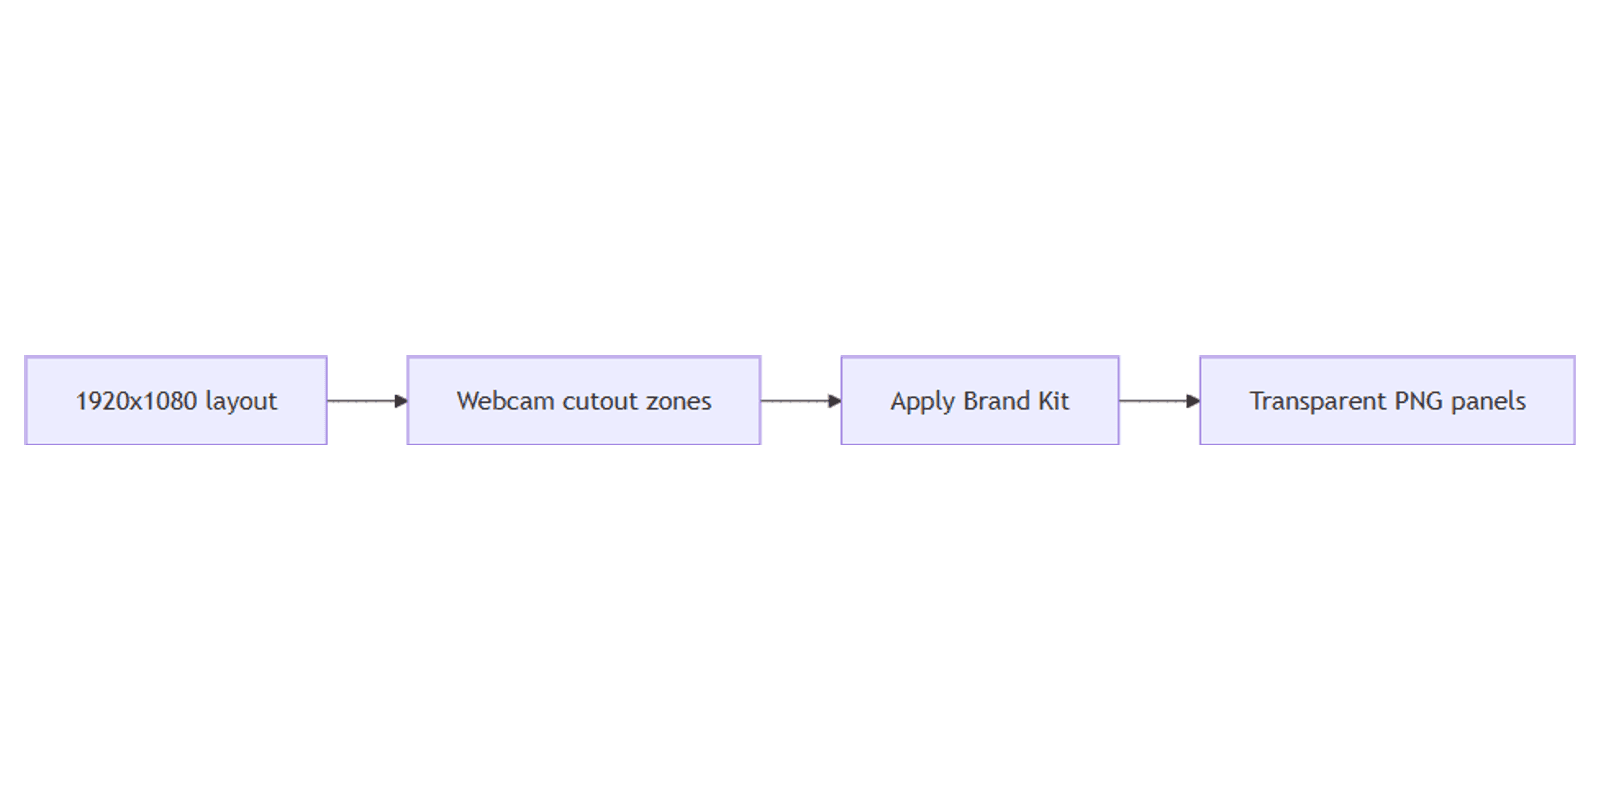
Twitch overlays frame your stream: webcam borders, alert spaces, chat panels, and starting soon screens. In Canva, design on a 1920 × 1080 canvas, leave clear webcam cutout areas, apply Brand Kit, and export transparent PNG panels for OBS or Streamlabs.
This guide covers layout, transparency, and how overlays differ from opaque Zoom backgrounds. Official Canva help: Transparent background, Download file types, Custom size. Templates: Twitch / streaming overlays.
Twitch overlay size in Canva
| Spec | Value |
|---|---|
| Canvas | 1920 × 1080 px (Full HD, 16:9) |
| Webcam area | Empty / transparent cutout sized to your cam scene |
| Panels | Often separate transparent PNGs |
| Export | PNG with Transparent background (Pro+) |
Stream software composites your camera and game under the overlay. Anything opaque in Canva will cover the game feed - that is why cutouts and transparency matter.
To create the canvas:
- Open Canva.
- Create a design → Custom size → 1920 × 1080.
- Or open a Twitch overlay template and confirm it is still 1920×1080.
- Plan webcam and game regions before decorating the chrome.
Step-by-step: build a stream overlay
1. Map the layout zones
Sketch regions on paper or with temporary rectangles in Canva:
| Zone | Purpose |
|---|---|
| Game / screen capture | Large central or left area - keep mostly empty |
| Webcam | Rectangle matching your cam aspect (often 16:9 or 4:3) |
| Chat / alerts | Side or bottom panels |
| BRB / starting / ending | Full-frame scenes (can be opaque) |
Delete guide rectangles once frames and panels are placed - or keep non-exported guides on a separate page.
2. Build frames and panels
- Use shapes for webcam borders, progress bars, and side panels.
- Add subtle shadows or strokes so the cam reads clearly on busy games.
- Leave the inside of the webcam frame empty (no fill) so video shows through after a transparent export.
- Apply Brand Kit for colors, fonts, and logos.
3. Export transparent PNG panels
Overlays usually need transparency:
- Remove any full-canvas background color if you want a hollow overlay.
- Share → Download → PNG.
- Turn on Transparent background (available on Pro and other paid plans - see transparent PNG).
- Import the PNG as a browser or image source in OBS / Streamlabs above your game capture.
| Asset | Transparency |
|---|---|
| Live overlay chrome | Yes - transparent PNG |
| Webcam frame only | Yes - hollow center |
| Starting soon screen | Often opaque full frame |
| Logo stinger elements | Transparent PNG cutouts |
4. Webcam cutout tips
- Match the cutout aspect to your camera source so faces are not stretched in OBS.
- Keep decorative corners outside the face area.
- Do not place fine text over the webcam hole - it will fight with your face.
- Test at stream resolution; 1080p overlays on 720p canvases look soft if mismatched.
5. Starting / BRB screens vs live overlays
Full “Starting Soon” or “Be Right Back” screens can be opaque 1920×1080 JPG/PNG - closer to a Zoom background mindset (full frame, no hollow center). Live overlays stay transparent so gameplay remains visible.
Brand Kit and related workflows
- Brand Kit - consistent colors and logos across overlay, panels, and screens.
- Transparent PNG - required for hollow overlays and logo bugs.
- Zoom backgrounds - also 1920×1080, but usually opaque for meetings; do not confuse the two export goals.
Export checklist
- Canvas is 1920 × 1080.
- Webcam and game regions are clear of opaque fills.
- Download PNG with Transparent background for live overlays.
- Keep opaque versions for starting/BRB scenes if needed.
- Add layers in OBS and align the webcam source to the cutout.
Design checklist
- Master size 1920 × 1080
- Webcam cutout sized to your camera source
- Live overlay exported as transparent PNG
- Brand Kit applied
- Tested in OBS/Streamlabs over a sample game capture
Common mistakes to avoid
- Exporting JPG for live overlays - JPG cannot be transparent; game feed will be blocked.
- Filled webcam rectangle - leaves a solid box over your face.
- Tiny unread chat labels - overlays compete with gameplay; keep labels bold and few.
- Wrong resolution - design at the same resolution you stream when possible.
FAQ
What size should a Twitch overlay be in Canva?
1920 × 1080 pixels (16:9) is the standard Full HD overlay canvas.
How do I make the webcam area see-through?
Leave that region empty (no background fill) and export PNG with Transparent background - details in transparent PNG.
Do I need Canva Pro?
Transparent PNG download requires a plan that supports it (Pro and other paid/education tiers per Canva Help). Free users can still design and use opaque starting screens.
Are Twitch overlays the same as Zoom backgrounds?
Same 1920 × 1080 size often, different goal: Zoom backgrounds are usually opaque; Twitch live overlays need transparency and cutouts. See Zoom backgrounds.
Conclusion
To create Twitch overlays in Canva, design at 1920 × 1080, reserve clear webcam cutouts, apply Brand Kit, and export transparent PNG panels for your stream stack. Use transparent PNG for hollow chrome, and treat opaque starting screens more like Zoom backgrounds than live overlays.
Canva Templates
Start Selling Canva Templates - Start Now!