How to Use Canva Magic Expand: Extend Photos Beyond the Frame
Canva Magic Expand extends a photo beyond its original borders with AI - more sky, wall, or background so a tight crop fits a banner, Story, or wide layout without stretching pixels. It is not the same as Magic Resize, which changes the whole design’s canvas size for other platforms.
This guide covers how to open Magic Expand, choose a size or drag handles, when faces and transparency fail, and how AI usage fits in. Official help: Expand images and AI access in Canva.
What is Magic Expand?
Magic Expand generates new image content around the existing photo so you can reframe awkward crops, recover space just outside the frame, or turn a vertical shot into a wider one (Canva Help).
| Magic Expand | Magic Resize | |
|---|---|---|
| Acts on | One photo’s pixels | The whole design / page size |
| Result | AI fills new edges of the image | Layout adapted to new dimensions |
| Best for | Reframing a photo to fit a canvas | Multi-size social campaigns |
Use Expand when the photo is too small or wrongly cropped. Use Resize when you need the same design in Instagram, LinkedIn, and Stories sizes.
How to use Magic Expand
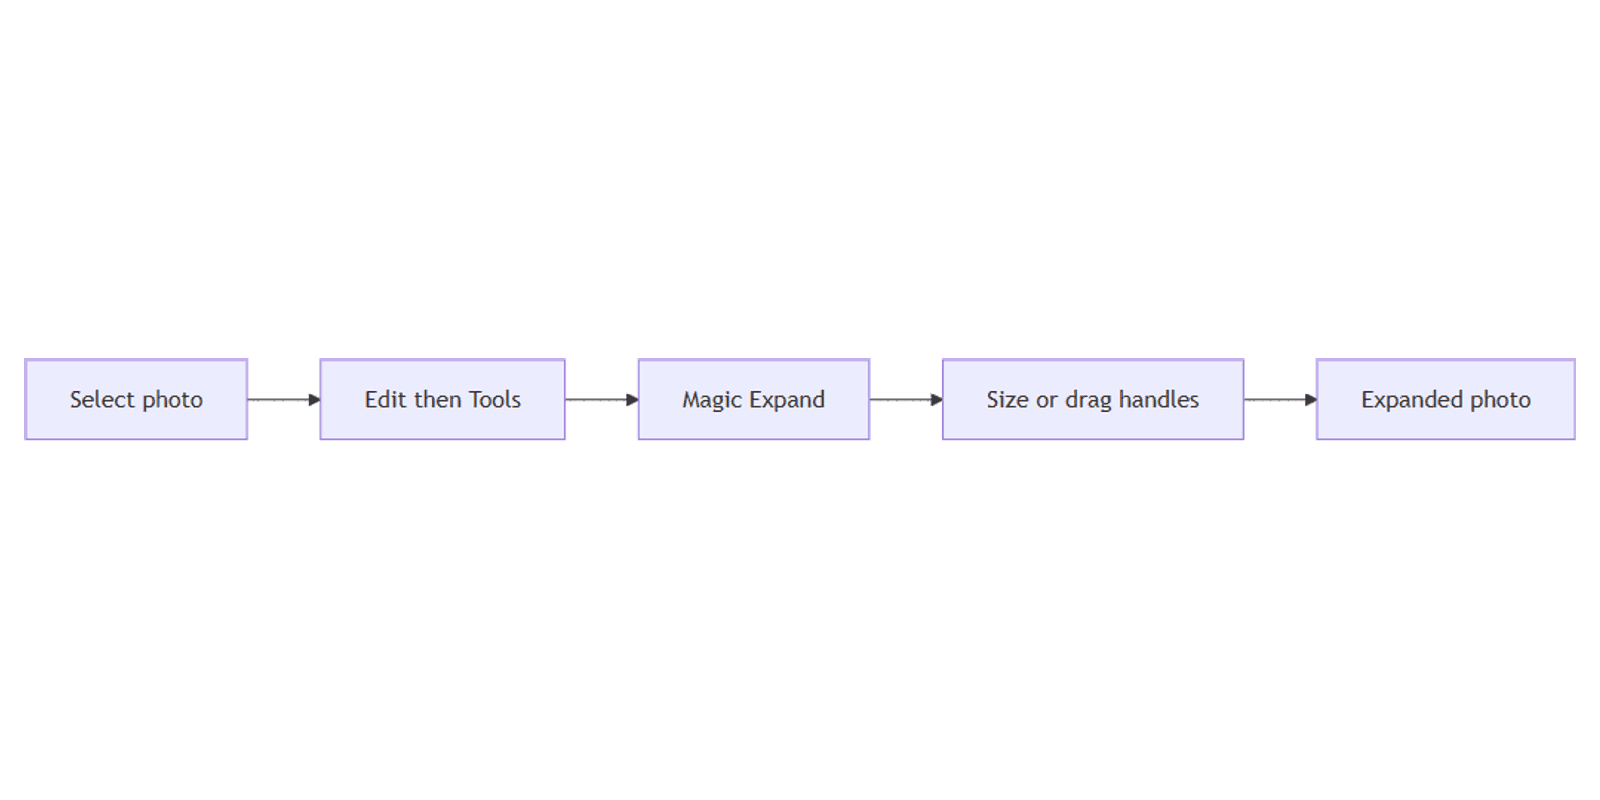
- Open a design in Canva and select the photo.
- From the editor toolbar, select Edit.
- Under Tools, open Magic Expand (use See all if it is not listed first).
- Choose a size or drag the crop handles to expand beyond the current border.
- Select Expand and wait for processing.
- Pick the best result, then continue designing.
You can only download the expanded image as a separate file when you download it as part of a design (Canva Help).
Limits and when Expand struggles
Canva notes that images with faces, hands, or transparent backgrounds may not expand well (Canva Help).
| Situation | What to expect |
|---|---|
| Landscapes / interiors | Often the cleanest expansions |
| Faces or hands near the edge | Distortion or odd anatomy |
| Transparent PNG cutouts | Weak or unusable results - expand before removal |
| Huge expansion | More artifacts; expand in smaller steps when possible |
Workflow tip: if you need a cutout, expand the full photo first, then use Background Remover. Export a transparent PNG only after the frame is correct.
AI usage and plans
Magic Expand is part of Canva’s AI / Magic Studio toolkit. Availability and monthly limits depend on your plan and Canva’s current AI rules - check AI access in Canva and Settings → Billing → AI usage before a heavy batch day. Treat usage as a scarce allowance on eligible plans; exact free vs paid quotas change over time.
Practical workflows
Vertical photo → wide banner
- Place the photo on a wide canvas (blog / OG or presentation).
- Magic Expand toward the empty sides.
- Spot-check edges for seams, then add text.
Tight product crop → Story frame
- Expand just enough for Instagram Stories safe zones.
- Keep the product centered; avoid expanding through hands holding the product when possible.
- Magic Resize the finished design to feed sizes if needed.
Cutout pipeline
- Expand the original photo (opaque background).
- BG Remover → place on brand color.
- Download with transparent PNG when compositing elsewhere.
Tips
- Expand before BG Remover - transparency and Expand do not mix well.
- Prefer scenes over portraits when you need large edge fills.
- Zoom the seams - check lines, patterns, and horizons before you ship.
- Do not confuse with Magic Resize - Resize changes design size; Expand invents photo edges.
- Watch AI quota via AI access.
FAQ
Is Magic Expand the same as Magic Resize?
No. Magic Expand AI-fills photo borders. Magic Resize changes the design to other platform sizes.
Why does Magic Expand look wrong on portraits?
Canva warns that faces and hands may not expand well. Prefer modest expansions or different source photos when people sit near the crop edge.
Can I expand a transparent PNG?
Often poorly. Expand the original opaque photo first, then remove the background or export a transparent PNG afterward.
Conclusion
Magic Expand stretches usable photo area without stretching pixels - select the photo → Edit → Tools → Magic Expand, set size or drag handles, then Expand. Keep faces, hands, and transparency in mind, and check AI access for usage. Pair with Background Remover, transparent PNG, and Magic Resize for multi-size campaigns.
For mockup presentations of finished creatives, see Sparxno Canva frame mockups.
Canva Templates
Start Selling Canva Templates - Start Now!