How to Use Canva Bulk Create: Generate Many Designs from a Spreadsheet
Canva Bulk Create scales one template into many designs from rows of data - localized campaigns, personalized cards, invitations, and name-heavy sales materials. Instead of duplicating pages by hand, you connect columns to placeholders and generate the batch.
This guide covers who can use Bulk Create, how to connect data, preview, Advanced options, and when to pair it with Brand Kit and Magic Resize. Official help: Create designs in bulk.
Who can use Bulk Create?
Bulk Create is available on Canva Pro, Teams, Business, Enterprise, Education, and Nonprofits - desktop only. It is not on the free plan.
| Requirement | Detail |
|---|---|
| Plans | Pro, Teams, Business, Enterprise, Education, Nonprofits |
| Device | Desktop editor (not a free-plan feature) |
| Data scale | Up to 300 rows and 150 columns per selection |
If you only need on-brand colors and logos, start with Brand Kit. Bulk Create is for data-driven volume, not everyday single designs.
What Bulk Create is for
Each column is a field (name, city, photo, price). Each row becomes one page or one design.
Common use cases:
- Localized campaign graphics with city or language columns
- Personalized business cards or invitations
- Event name badges and seat cards
- Offer sheets that swap product lines from a spreadsheet
You do not need Magic Write for Bulk Create - it is a data connection workflow, not a copy generator.
Prepare the template
- Open Canva on desktop and create or open your template.
- Add a separate text box for each field you will connect.
- For images, place frames or grids from Elements as placeholders.
- Apply Brand Kit so every generated row stays on brand.
- If the template has multiple pages, set data connections on each page you need filled.
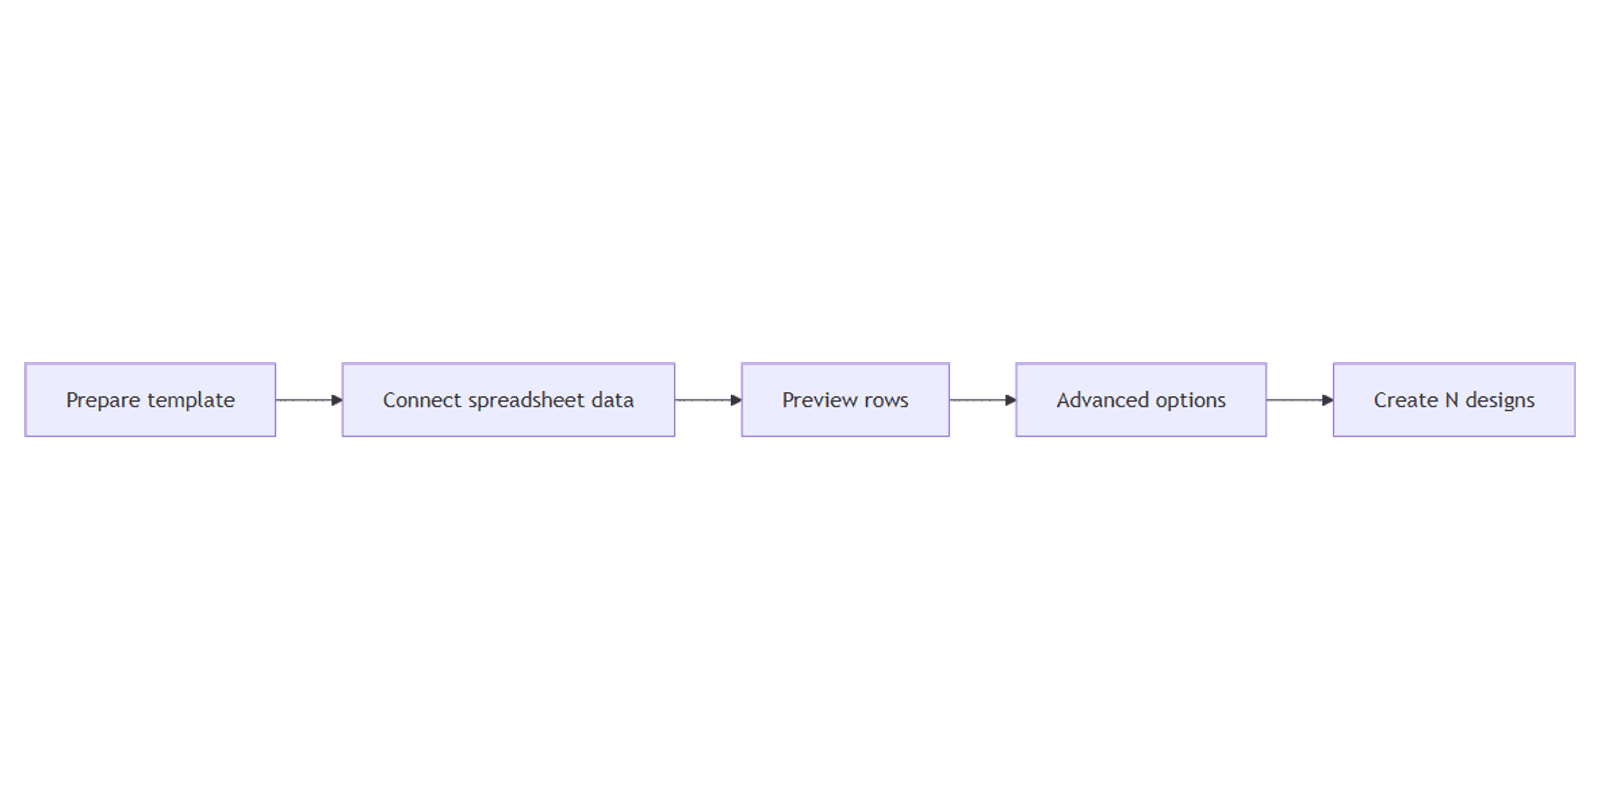
How to run Bulk Create
1. Open Bulk Create
From the desktop editor you can:
- Click the page background → Edit → Bulk create, or
- Open Apps → Bulk create, or
- Start from a selected range in a Canva Sheet
2. Add your data
Upload a CSV/XLSX file, use a Canva Sheet, import from a supported data app, or enter data manually. Label columns clearly. You can select up to 300 rows and 150 columns - larger selections are not accepted.
3. Connect data
Drag fields onto text and image placeholders, or use auto-match when available. Confirm every placeholder maps to the right column.
4. Preview → Continue
Use Preview to check that each row fills text and images correctly. Fix mappings before you generate the full batch.
5. Advanced options and create
Under Advanced options (below Continue), choose:
| Option | What it does |
|---|---|
| Output: 1 design with multiple pages | One Canva file; each data row becomes a page |
| Output: Individual designs | Separate files per row, grouped in a Projects folder |
| Name each page using | Optional - name pages/files from a data column |
| Save in | Optional - choose a folder in Projects |
Then click Create N designs (Canva shows the count for your selection) to finish.
After you generate
- Spot-check a few pages or files for overflow text and cropped images.
- Use Magic Resize if you need the same batch in another size - then reflow text.
- Export print jobs (for example cards or flyers) as PDF Print when a shop needs bleed and crop marks.
- Keep Brand Kit applied so resized variants stay consistent.
Preview client decks with Canva frame mockups when you present a sample from the batch before full production.
Bulk Create vs doing it by hand
| Approach | Best when |
|---|---|
| Bulk Create | Dozens or hundreds of near-identical layouts with spreadsheet fields |
| Duplicate pages | A handful of variants with heavy one-off art direction |
| Magic Resize alone | Same content, different canvas sizes - not row-based personalization |
FAQ
Who can use Canva Bulk Create?
Pro, Teams, Business, Enterprise, Education, and Nonprofits users on desktop. It is not available on the free plan. See Canva's Bulk Create help.
What are the row and column limits?
You can select up to 300 rows and 150 columns. Selections beyond that are not accepted.
Should I use multi-page or individual designs?
Choose 1 design with multiple pages when you want one file to scroll, export, or print as a set. Choose Individual designs when each row needs its own file in a Projects folder - useful for handing off personalized cards or invitations separately.
Conclusion
To use Canva Bulk Create, work on desktop with a paid-eligible plan, prepare placeholders, connect up to 300 × 150 of spreadsheet data, preview, then generate either a multi-page design or individual files via Advanced options.
Pair the batch with Brand Kit, resize carefully with Magic Resize, and apply the same workflow to business cards or flyers when print volume matters. Official steps: Create designs in bulk.
Canva Templates
Start Selling Canva Templates - Start Now!